Lighting Tutorial
Getting the shading right
---
In this tutorial I will explain in as simple way as I can how to shade objects and levels to accurately reflect a real environment within the limitations of GoldenEye.
Due to the static nature of GoldenEye's Lighting System (there is none) objects will always have the lighting given to them at the time of modeling. (see An8Shading Tutorial to learn how)
This means then that object placement will have to be cleverly done and moving objects such as cars should have lighting from above to reduce shadows on shines, which would give the static shading away as such.
However, rooms should be much easier to do since they are also static.
To start with I will show some Renders and their Real counterparts to
demonstrate how the light is reacting with the object at three angles, 900/00,
450 and 300.
In all the following renders the Ambiance (light reflected from other surfaces)
is 0 due to the complicated nature of ambiance. The real images are affected by
ambiance.
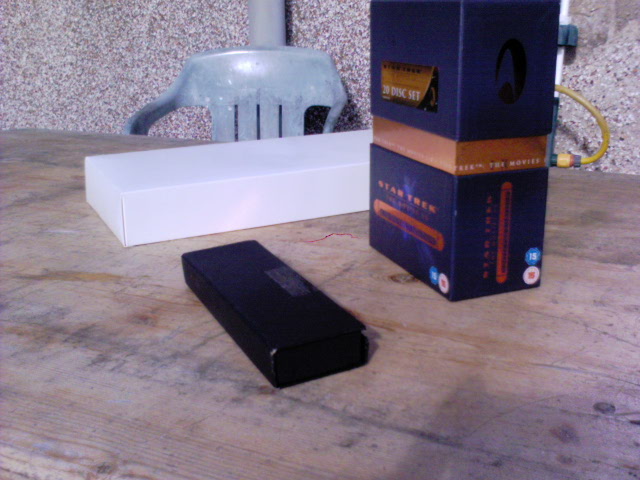
An8 Render
Real shot
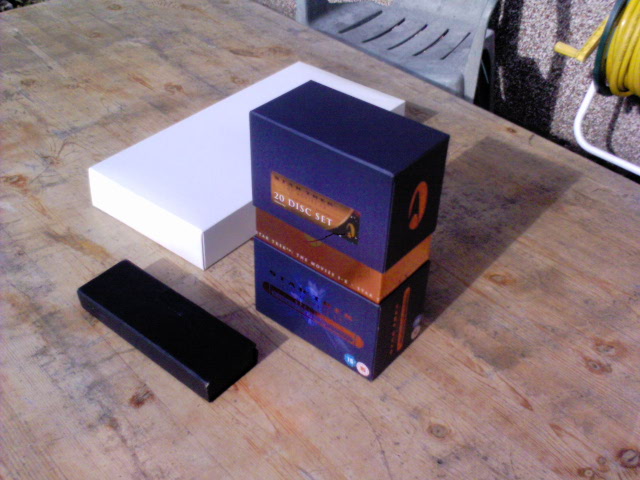
These objects are being lit from directly in front and Upward of them.
The Rear of the objects.
As you can see there are 2 shades.
Where the light hits the object top and front with equal intensity they have a
bright colour.
The rest of the object (rear, left, right, bottom) does not come into contact with rays of light and therefore do not reflect any visible light and so their shade is black.
An8 Render 450
Real Shot 450
Now we have Objects rotated to 450 with the light source still to
the front and upward of the object.
Rear Of objects.
In these objects the Front and right faces are equally lit by the light
source and so have equal shading. The top face is brighter due to slight quirk
in an8 (Not seen in real).
As you can see the rearward faces are all black.
This method of lighting is not recommended in GoldenEye. Only use in level BG if
no other angle for light can be used.
An8 Render 300
Real 300
Now we have objects at 300 to the light source.

Rear of objects.
In these objects there are four distinct shades.
The Top is receiving the most intensity, while the front is second most
intense while the right is dull. This is due to the angle of the faces in
relation to the light source.
The closer to directly facing the light, the brighter a face is. The greater the
angle the duller the face is, until 900 thereafter the intensity is
0.
This shading is the best for GoldenEye since it nicely brings out the 3rd dimension of objects instead of being flat.
Rooms
To start with you will need to think about where your lights are in each room and whether or not they would really work in those positions. (would they cast a huge shadow, would they be bright enough)
The next thing is type of light.
Strip lights
(Florescent tubes, large surface lights, large screens (>.5m) cloudy sky)
Strip lights offer a bright, shadowless(nearly) environment but are not used
much in domestic scenarios apart from kitchens. Also, in relation to Goldfinger,
they were invented in the 30's so are a product yet to take full hold.
Striplights are a 'cool' light which can be emulated with a slight blue tinge.
Incandescent lights (Point)
(Light Bulbs, candles, lanterns, Small Screens (<.5m))
Incandescent lights range in power, more available, warmer (slight orange)
but cast clear shadows. Shadows should be drawn outward from the point of light
origin (see pic below)
Sun (Paralell)
The sun should really be the only thing that lights up objects at full
intensity. It casts sharp clear shadows and for the purposes of this tutorial is
known as a parallel light source. This means all shadows point in the same
direction across all areas.
This direction depends on the time of day the level is set to start on and the orientation of the level (Miami faces south).
The next thing is that lights (I will use an incandescent light in a cube
room for this example) produce rays which weaken as they travel.
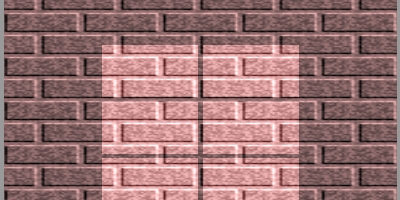
To simulate this the center of the room where the light should be should also be
the brightest. at the corners will be the dullest.
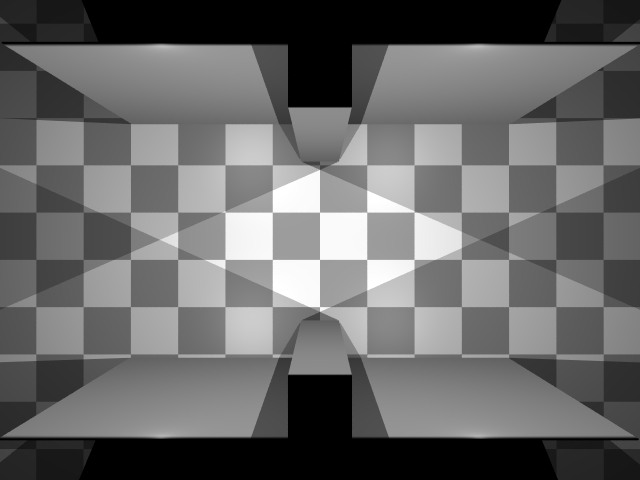
The following renders show this effect.
This first one shows only this effect in an empty room.
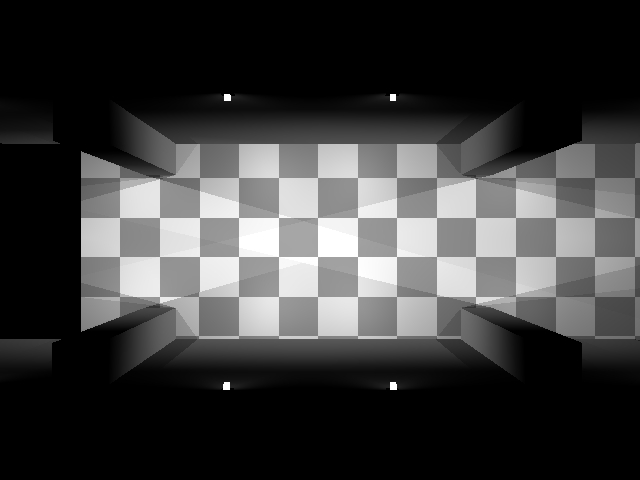
This one shows the effect with objects present. The main thing in this image is
the demonstration of the shading being directional from the point of origin.
The above image also shows a cube at 450 to the light source and
as you can see it looks flat.
I strongly advise against this and suggest turning the object slightly and
moving it so it can use 'default'(300) shading realistically.
If this is a static object as part of the level BG then I still suggest using a slightly different shade on each face.
Strip Lights
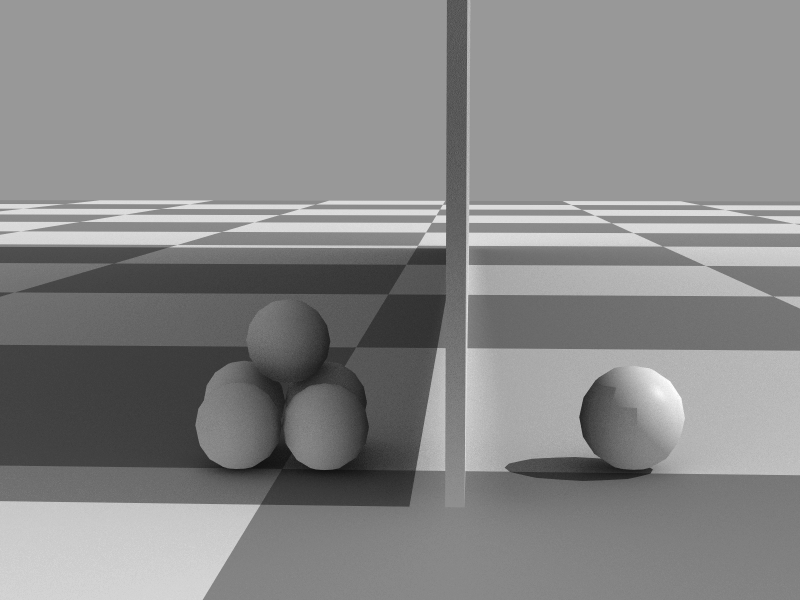
Both incandescent and the sun have shadows in common. Strip lights however do not.
and as seen from the rear
As you can see, the shadows are barley visible. This is due to the rays of light coming from all along the strip and therefore where one ray is blocked by the cube, another is able to hit the floor behind it.
In Strip Lighted areas, the shadow is darkest at the center behind the object
creating the shadow.
This can be achieved with vertex shading of 2 triangles.
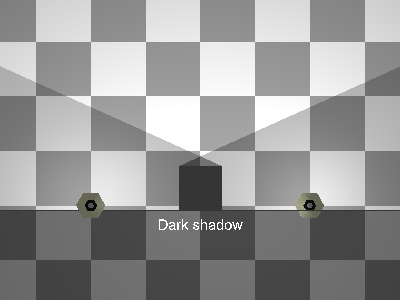
Here is the comparison shot of the Incandescent Scene from before.
The shadows are clearly visible and sharp.
Although I am not dealing with ambient lighting, notice the ambient light of the strip light is more than that of the single incandescent bulb.
Also of note is that Strip light also represents the effect of a cloudy day
(Outside), difference being that shadows will fall directly beneath the object -
if at all (must be close to ground and large).
Outside cloudy means shade object as normal (But light direction from top, so
brightest face is top at 75%, sides are 50% but make them different to highlight
3d) and the shadows can almost be forgotten unless an object is not touching the
ground but is sufficiently large and close enough to the ground to warrant a
shadow. the shadow will be vertex shaded to be same as outside on edge but 50%
bright in center.
Real shot of Cloudy day
Advanced:
Shadows:
To draw shadows you need to have a light source. Everything that we can see is because light is reflected off their surface. If there were no light, we would not see as everything would be black.
We will start with a relitivly easy light source, the sun.
To draw shadows from the sun, you first need to establish where in the sky the sun will be.
For this Tutorial We will assume that your level is oriantated with the Z axis Pointing North to South.
You can now choose where the sun will be, or if you prefere, the time of day (where the sun is East & 0' at 06:00, south & 80' at 12:00 and West & 0' at 18:00)
[East & 0' means, the sun is in the east at ground level. South & 90' means the sun is in the south and almost directly above you]
Once you have established where in the sky the sun will be, place the sun extreemly far away (infinity) and then draw vectors from this point back down to every vertwho's path is not blocked and continue untill you hit another face.
At the point you touch another face is where you will need to cut the Face (this will be much easyer if you do not use triangles at this point, but instead N-Gons as it will save triangles later).
As most obects are more complex than simply 1 cube casting a shadow on a flate plane, what you should do is take each shape and draw vectors for all verts.
Then when you join up all the points any point inside a shadow area already can be deleted.
Examples
GE Example from DAM.

As you can see there is suposed to be a sun along the vectors produced by the shadows.
Most of the vectors(red) are very similar to the suns vector (yellow) except for the one highlighted in blue.
This is most likely to save faces while maintaining a close enough shadow line.
If there was not a triangle edge along that line, or it was opposit direction, the tri would either need to be flipped, or cut along the blue line.
Eample of how to cut shaodws: ,br>
Lighting Formula for maximim Contrast:
the formula is ambiant + ( For all lights in world light intencity) so, 2 lights at .5 shining on a floor = 1. if a light is blocked then it = .5. if both lights are blocked = 0 If amb = .2 then the above values are also +.2 for lights (any man-made light sources)
Id suggest taking each light indavidually. any blockages cast a shadow along the vector. when you have another light, draw its shadows the same way. where 2 shadows intersect is the end of the shadow.
AMBIANT OCCLUSION:
Ambiant Occlusion is the understanding that all surfaces reflect light, the light we see them as. (i.e., a red box will reflect red light on the floor surrounding it.)
So, in basic lighting, we have a light source and anything not lit by this source (blocked) or facing away (and therefore also in shadow) will be completely black.
However with Ambiant Occlude if a cube casts a shadow on the wall behind it, the back of the cube itself is not completely black since the remainder of the wall is reflecting light back toward the cube. The bigger the surface reflecting the light back (and depending on colour and brightness of said surface) The brighter the 'ambiant' will be.
Now, both the above examples assume an enclosed space with
only 1 light source.
If you have an open area during the day and your light source is the sun then
there is another calculation to be considered - The atmosphere.
The atmosphere is bright blue because the light from the sun
hits it and diffuses and refracts within it. But this then becomes another light
source, but unlike the sun or a light bulb, this light source covers a huge
area. You could think of the atmosphere as being made up of millions of micro
light sources.
So, now consider a cube in front of a wall.
The sun lights the wall and front of the cube while the cube blocks the sun from
reaching a portion of the wall and the rear of the cube.
Now, as before you can add ambiant due to the brightness of the remaining
lit wall reflecting light onto the cube. However, you now also add the
brightness of the atmosphere to the cube and shadow.
On a bright day the sun makes up for 1/2 the brightness of the object while the
other 1/2 is made up from the ambiant light.
This means, provided there are no other blockages the rear of the cube and its
shadow will have an Intencity of 0.5 or 50% of petential brightness.
Aditional Colour Combiner Mode, Brighten.
Use brighten in direct sunlight and normal for anything else.
Where an object bends from light to shadow choose the vertex closest to Normal=1 and Brighten=0 to switch. This scenario should be rare and Models should be made to suite the situation better
It should be noted that Greyscale textures cannot be used on such smooth transitioning objects as Greyscale needs a minimum of 60 on any colour to have effect (not be grey).
Smnooth transition asside, Brighten works very well on Greyscale textures for examples of bright sunlight on a red wall.